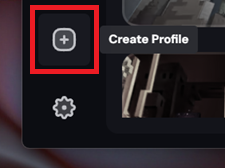
1. Launch the Lunar Client Launcher and click "Create Profile".
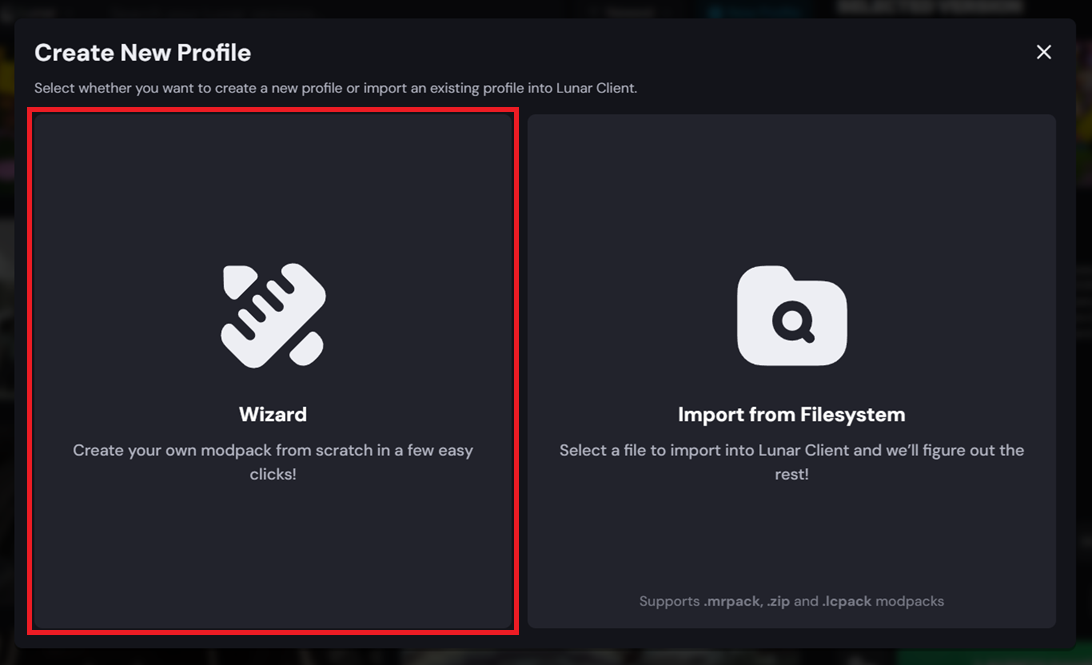
2. Choose Creation Method, you will see two options:
- Wizard: create a new profile step-by-step
- Import from Filesystem: Import existing profiles or modpacks (e.g. Modrinth, CurseForge, or exported Lunar Client profiles)
To create a new profile from scratch, select Wizard.
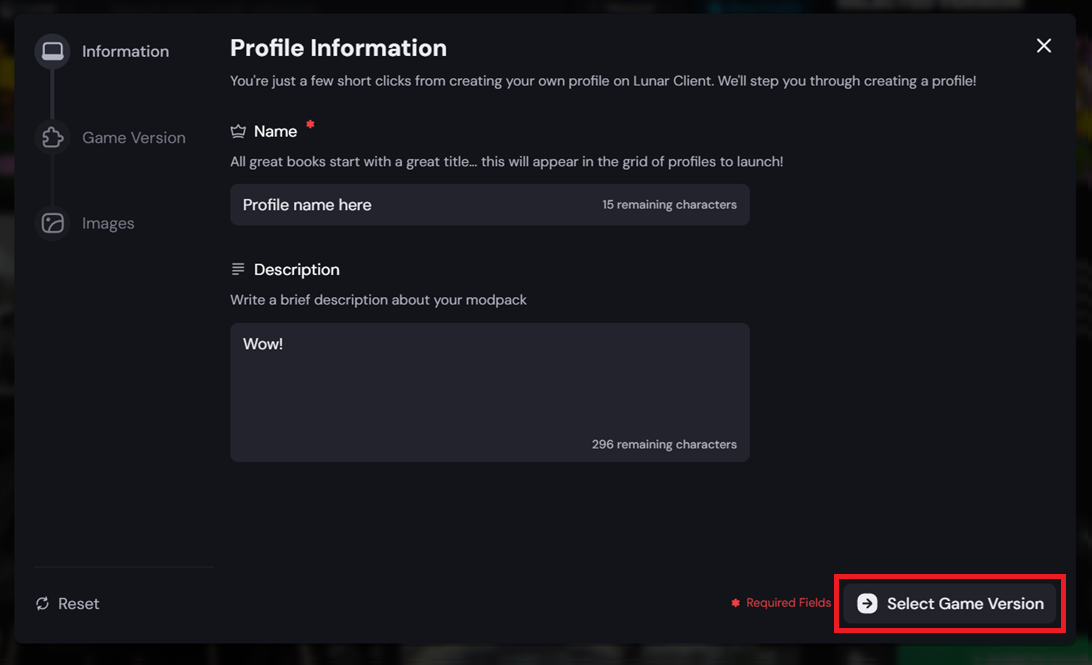
3. In the first stage of the Wizard, you will configure basic profile details.
- Name: Choose a clear and recognizable name (e.g. PvP, Skyblock, FPS Boost)
- Description (optional): Add a short description to identify the profile’s purpose
Once completed, click Select Game Version to continue.
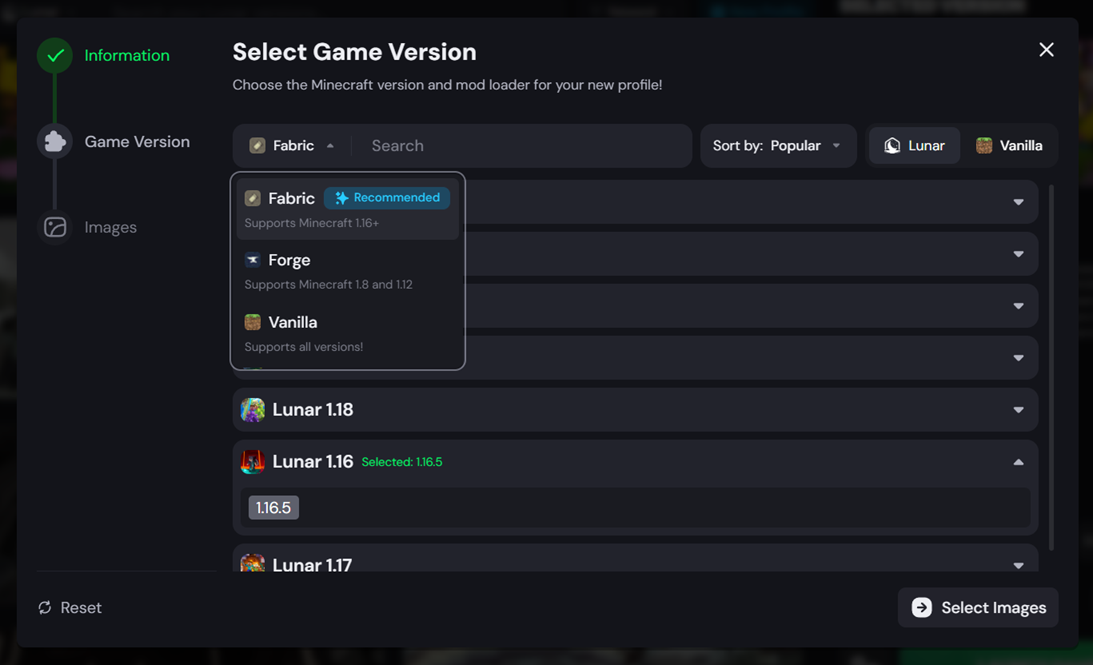
4. You will then be prompted to choose your Minecraft version and mod loader.
On the right side, you can Choose between Lunar Client and Vanilla. This allows you to enable/disable the Lunar Client Features.
The left side shows three options:
- Fabric (Recommended): Best for modern versions and mod support (Minecraft 1.16+)
- Forge: Used for older modpacks and legacy mod support
- Vanilla: No mod loader, standard Minecraft experience
Then choose your desired Minecraft version (e.g. 1.20.2, 1.20.1, 1.20).
5. Select Images for your profile (Optional), you can personalize your profile by selecting:
- Icon (128×128): The small image shown in your profile list
- Background (515×232): A banner image displayed on the profile card
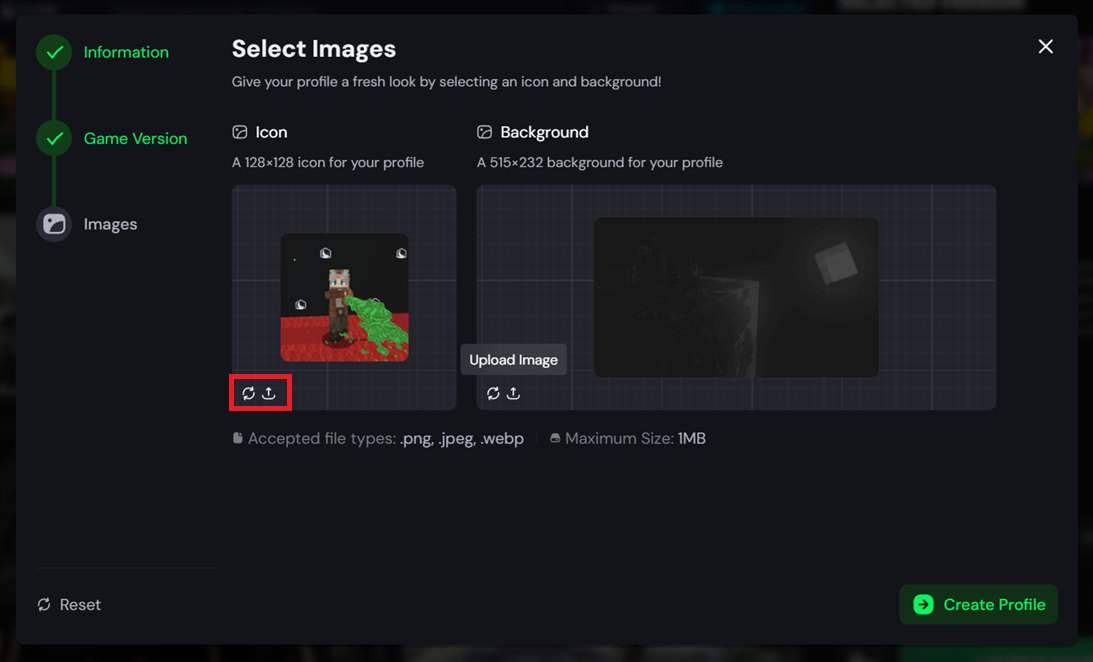
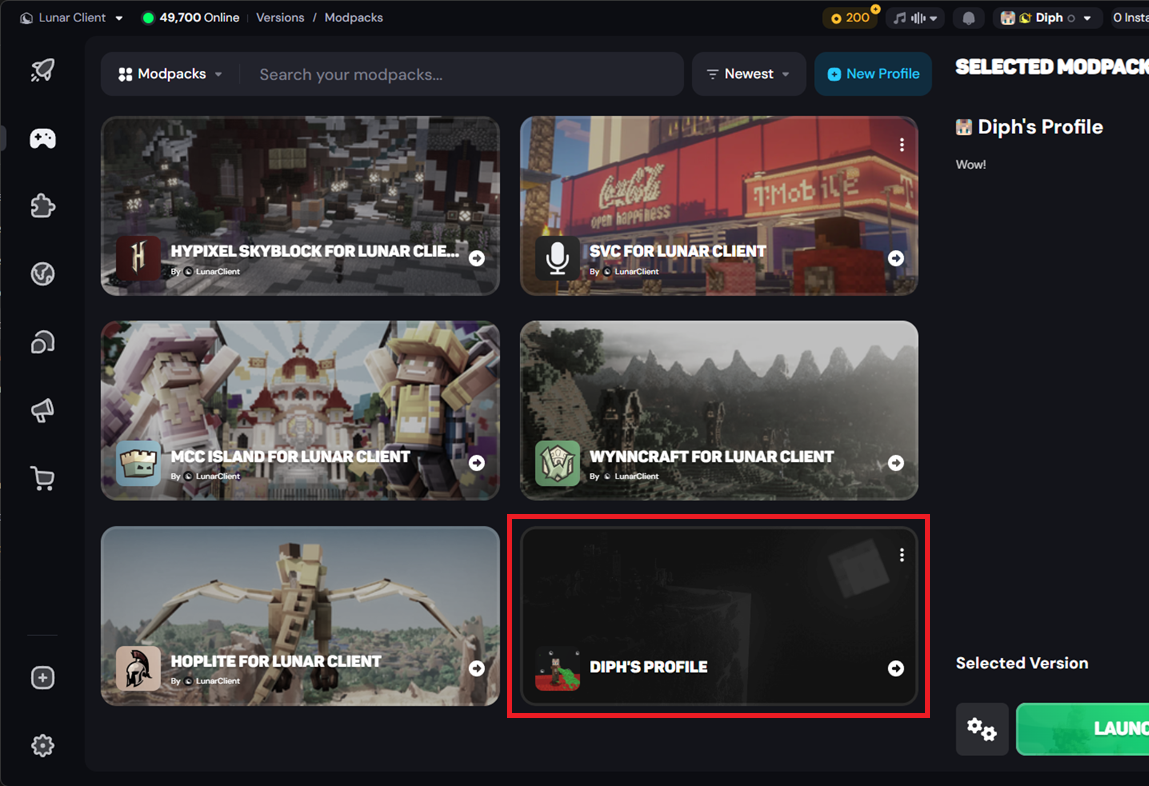
6. Click "Create Profile" when ready, to finish creating the profile. You can then select the profile in the "Modpacks" tab of the launcher.
Was this article helpful?
That’s Great!
Thank you for your feedback
Sorry! We couldn't be helpful
Thank you for your feedback
Feedback sent
We appreciate your effort and will try to fix the article